![]()
首先 WordPress 對於系統的要求
在使用 WordPress 前你必須先確定你的系統軟體符合他的需求
- PHP 版本需要大於 5.6
root@ubuntu:~# sudo apt-get install apache2
root@ubuntu:~# sudo apt-get install php5 libapache2-mod-php5 php5-mysql
Ubuntu 16.04 安裝 Apache + PHP 請參考 https://benjr.tw/95861
- MySQL 版本需要大於 5.6 或是 MariaDB 10.0 以上的版本
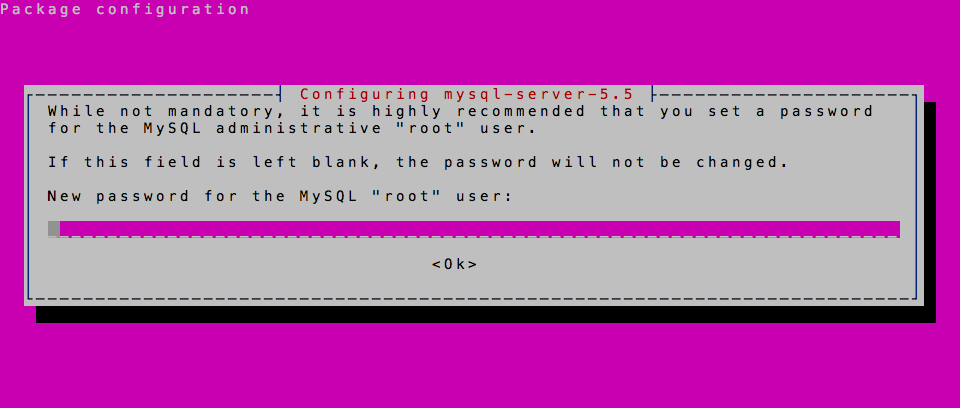
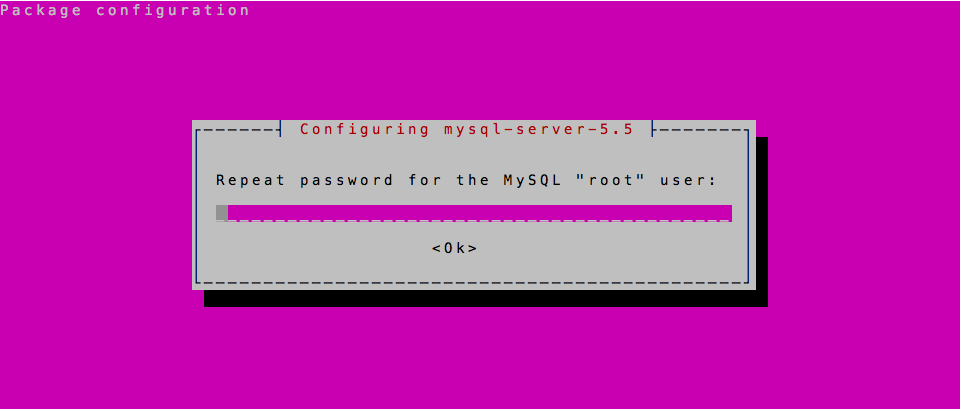
root@ubuntu:~# apt-get install mysql-server
Database
因為 WordPress 會將資料儲存在 database 中,我們用 Linux 常使用的 MySQL 當成我們的資料庫系統.
確定一下 MySQL 執行中.
root@ubuntu:~# initctl status mysql
mysql start/running, process 1301
建立資料庫號密碼
安裝 MySQL 的時候就已經設定了密碼,接下來我們要為將來使用的 wordpress 建立一個資料庫,方法很簡單只要下面幾個步驟,建立一個資料庫名稱為 wordpress 以及使用者帳號 wordpressuser 以及其該使用者密碼 password,你可以依據自己的喜好來命名.
root@ubuntu:~# mysql -u root -p
Enter password:
Welcome to the MySQL monitor.  Commands end with ; or \g.
Your MySQL connection id is 36
Server version: 5.5.52-0ubuntu0.14.04.1 (Ubuntu)

Copyright (c) 2000, 2016, Oracle and/or its affiliates. All rights reserved.

Oracle is a registered trademark of Oracle Corporation and/or its
affiliates. Other names may be trademarks of their respective
owners.

Type 'help;' or '\h' for help. Type '\c' to clear the current input statement.

mysql> CREATE DATABASE wordpress;
Query OK, 1 row affected (0.00 sec)
這邊就是要建立 wordpress 專用的資料庫,create database 資料庫名稱你可以依據自己的需求做改變,注意每個指令後面都要加上 “;”
mysql> CREATE USER wordpressuser@localhost IDENTIFIED BY 'password';
Query OK, 0 rows affected (0.01 sec)
建立 wordpressuser 這個帳號.
- CREATE USER wordpressuser@localhost
username@localhost , username – 新增的使用者, localhost – 限制可從哪裡來存取, 可用 ‘%’ (代表全部) - IDENTIFIED BY ‘password’
password: 使用者密碼
mysql> GRANT ALL PRIVILEGES ON wordpress.* TO wordpressuser@localhost;
Query OK, 0 rows affected (0.00 sec)
將剛剛建立的 wordpress 資料庫權限給 wordpressuser.
- GRANT ALL PRIVILEGES
授權的權限 (ALL: SELECT, INSERT, DELETE …. etc) - wordpress.*
指定可以存取哪些 Db_name/Table - wordpressuser@localhost
username@localhost , username – 新增的使用者, localhost – 限制可從哪裡來存取, 可用 ‘%’ (代表全部)
mysql> flush privileges;
Query OK, 0 rows affected (0.01 sec)
mysql> exit;
Bye
試一下剛剛建立好的 wordpress 資料庫和使用者吧!!
root@ubuntu:~# mysql -u wordpressuser -p
Enter password:
Welcome to the MySQL monitor.  Commands end with ; or \g.
Your MySQL connection id is 38
Server version: 5.5.52-0ubuntu0.14.04.1 (Ubuntu)

Copyright (c) 2000, 2016, Oracle and/or its affiliates. All rights reserved.

Oracle is a registered trademark of Oracle Corporation and/or its
affiliates. Other names may be trademarks of their respective
owners.

Type 'help;' or '\h' for help. Type '\c' to clear the current input statement.
這邊要輸入的密碼是 wordpressuser 的密碼,我剛剛設定的是 password.
mysql> connect wordpress;
Connection id:    43
Current database: wordpress

mysql> show databases;
+--------------------+
| Database           |
+--------------------+
| information_schema |
| wordpress          |
+--------------------+
2 rows in set (0.01 sec)

mysql> exit;
Bye
連線到 wordpress 資料庫看一下.如果你可以用 wordpressuser 連線到 wordpress 資料庫,那代表資料庫的連結沒有問題.可以開始進入安裝 wordpress 了.跳出來吧!!以後再也用不到了 MySQL 的指令了.
WordPress
直接下載最新版本的 WordPress 來使用.
root@ubuntu:~# cd ~
root@ubuntu:~# wget http://wordpress.org/latest.tar.gz
root@ubuntu:~# tar xzvf latest.tar.gz
還記得剛剛在 Databases 設定資料庫 wordpress 使用者帳號 wordpressuser 以及其該使用者密碼 password,這些資料都需要寫入到 wp-config.php 設定檔.
root@ubuntu:~# cd ~/wordpress
root@ubuntu:~/wordpress# cp wp-config-sample.php wp-config.php
root@ubuntu:~/wordpress# nano wp-config.php
// ** MySQL settings - You can get this info from your web host ** //
/** The name of the database for WordPress */
define('DB_NAME', 'wordpress');

/** MySQL database username */
define('DB_USER', 'wordpressuser');

/** MySQL database password */
define('DB_PASSWORD', 'password');
Ubuntu 14.04 Apache2 預設的根目錄為 /var/www/html/ 需要將剛剛整理好的文件複製到該處.如果裡面有檔案記得先刪除.
root@ubuntu:~/wordpress# ll /var/www/html
total 24
drwxr-xr-x 2 root root  4096 Oct 23 04:43 ./
drwxr-xr-x 3 root root  4096 Oct 23 04:42 ../
-rw-r--r-- 1 root root 11510 Oct 23 04:42 index.html
-rw-r--r-- 1 root root    20 Oct 23 04:43 phpinfo.php
root@ubuntu:~/wordpress# rm /var/www/html/index.html /var/www/html/phpinfo.php
上次忘記刪除 index.html 結果開瀏覽器一直都是 Apache 的宣告畫面.
root@ubuntu:~/wordpress# rsync -avP ~/wordpress/ /var/www/html/
sending incremental file list
wp-config.php
          2,839 100%    0.00kB/s    0:00:00 (xfr#1, ir-chk=1016/1025)

sent 40,328 bytes  received 169 bytes  80,994.00 bytes/sec
total size is 22,582,692  speedup is 557.64
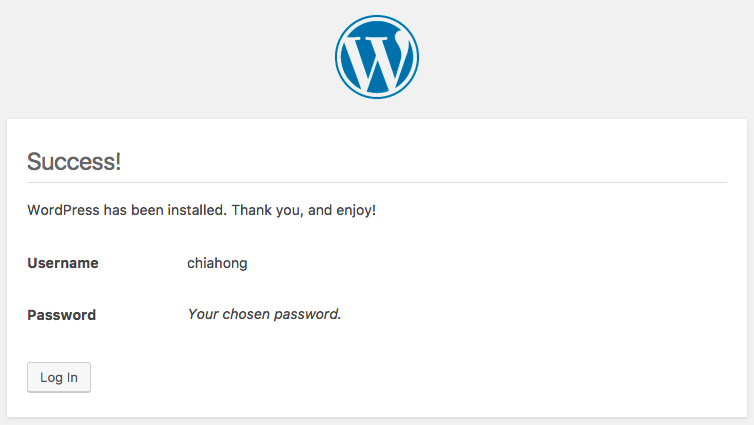
在瀏覽器輸入你的網域 (http://your_Domain, http://your_Domain/wp-config.php) 或是 IP ,完成下面幾個步驟即將大功告成.
輸入你的 Site Title , Username , Password , Your Email
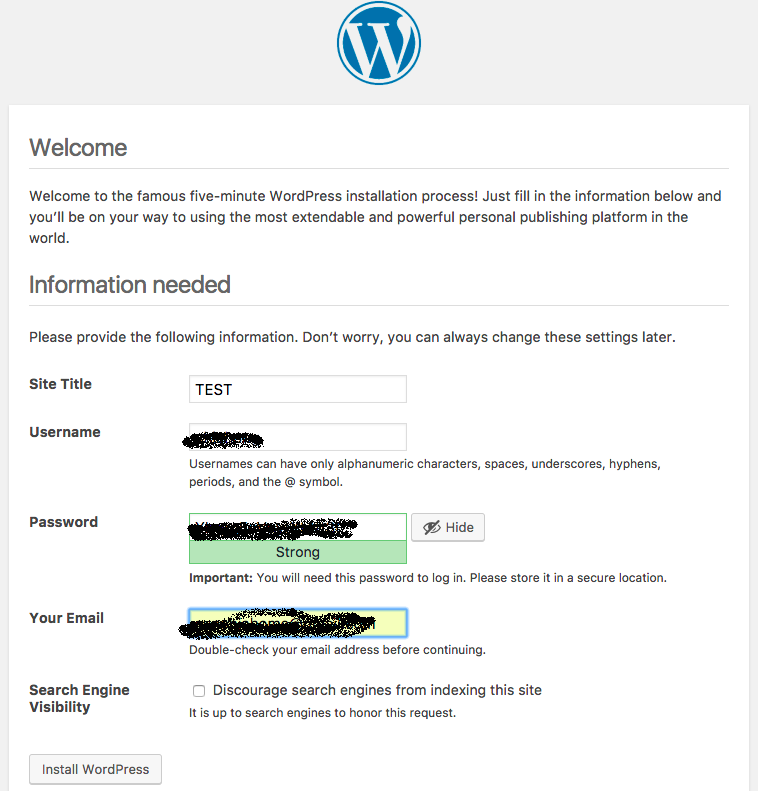
WordPress 資料夾權限
預設的 wordpress 資料夾與檔案 使用者/群組 為 nobody / nogroup ,有人建議改成 www-data (Ubuntu 下的 Apache2 所使用的使用者) .
root@ubuntu:~# ps aux | egrep apache2
root      1466  0.0  1.9 102056 19872 ?        Ss   Oct23   0:00 /usr/sbin/apache2 -k start
www-data  1514  0.0  0.5 102080  5504 ?        S    Oct23   0:00 /usr/sbin/apache2 -k start
www-data  1515  0.0  0.5 102080  5508 ?        S    Oct23   0:00 /usr/sbin/apache2 -k start
www-data  1517  0.0  0.5 102080  5508 ?        S    Oct23   0:00 /usr/sbin/apache2 -k start
www-data  1518  0.0  0.5 102080  5508 ?        S    Oct23   0:00 /usr/sbin/apache2 -k start
www-data  1519  0.0  0.5 102080  5508 ?        S    Oct23   0:00 /usr/sbin/apache2 -k start
root      2795  0.0  0.1   4440  2044 pts/4    S+   00:13   0:00 egrep --color=auto apache2
來看看 nobody 與 nogroup
root@ubuntu:~# cat /etc/passwd | grep -i nobody
nobody:x:65534:65534:nobody:/nonexistent:/usr/sbin/nologin
root@ubuntu:~# cat /etc/group | grep -i nogroup
nogroup:x:65534:
在 /var/www/html 目錄下的檔案其權限為 -rw-r–r– ,只有 Nobody 有權限可以寫入,但這個帳號沒有登入的權限.我們應該不用把 使用者/群組 改成 www-data .
不過上傳圖片的目錄 /var/www/html/wp-content/uploads 是要改成 www-data ,才能把圖片正確上傳.
root@ubuntu:~# mkdir /var/www/html/wp-content/uploads
root@ubuntu:~#chown www-data:www-data /var/www/html/wp-content/uploads
詳細 WordPress 檔案權限設定,請參考 https://benjr.tw/10912
其他設定
其他設定可以參考如下
- 連線型態 FTP FTPS (SSL) SSH2 – https://benjr.tw/10928
- 固定網址設定 – https://benjr.tw/10918
- Linux – Virtual Host – https://benjr.tw/11082
- 網域 DNS 設定 – https://benjr.tw/13311
- Ubuntu 防火牆 ufw – https://benjr.tw/93733
One thought on “Ubuntu 14.04 + wordpress”