![]()
測試環境為 CentOS 8 x86_64 虛擬機.
安裝 Zabbix 來監控你的系統狀態,架構與服務如下.
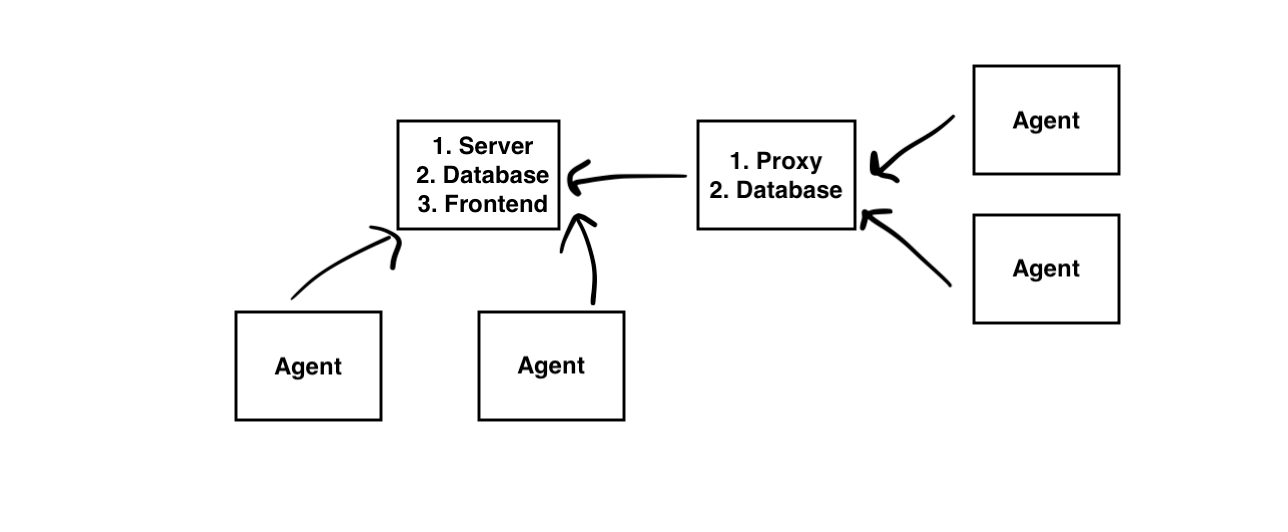
- Zabbix Server (需 Database 與 Front-end)
下面介紹.- Zabbix server
Zabbix server is the central component to which agents report availability and integrity information and statistics. The server is the central repository in which all configuration, statistical and operational data are stored. - Database storage (這邊選擇 MariaDB)
All configuration information as well as the data gathered by Zabbix is stored in a database. - Web interface(Front-end 需 Web 伺服器與 PHP ,這邊選擇 Apache 與 PHP-FPM )
For an easy access to Zabbix from anywhere and from any platform, the web-based interface is provided.
- Zabbix server
- Zabbix Proxy (Database) – https://benjr.tw/103805
Agent 無法直接連到 Server 時可以架設 Proxy . - Zabbix Agent – https://benjr.tw/103741
要監控的裝置只需安裝 Agent , Agent 有支援的作業系統如 Windows , Linux , macOS , AIX , FreeBSD , OpenBSD , Solaris .
其他:
- Zabbix Trigger – https://benjr.tw/103770
- 存取 Zabbix Database 資料 – https://benjr.tw/103783
- Zabbix API – https://benjr.tw/103793
Zabbix server, front-end, agent
安裝參考文章 – https://www.zabbix.com/download

我選擇的是 Zabbix version : 5.0 , OS Distribution : red_hat_enterprise_linux (CentOS) , OS Version : 8 , Database : mysql (MariaDB) , Web Server : apache
Zabbix 沒有在預設的 Repository ,需手動增加 zabbix Repository .
[root@localhost ~]# rpm -Uvh https://repo.zabbix.com/zabbix/5.0/rhel/8/x86_64/zabbix-release-5.0-1.el8.noarch.rpm
[root@localhost ~]# ll /etc/yum.repos.d/zabbix.repo
-rw-r--r-- 1 root root 409  5月 11  2020 /etc/yum.repos.d/zabbix.repo
使用 dnf 安裝 Zabbix server, front-end, agent 所需套件.
[root@localhost ~]# dnf -y install zabbix-server-mysql zabbix-web-mysql zabbix-apache-conf zabbix-agent
資料庫 MaraiDB
安裝 MariaDB (與 MySQL 資料庫相容)
[root@localhost ~]# dnf install -y mariadb mariadb-server mariadb-devel
啟動 MariaDB 服務.
[root@localhost ~]# systemctl enable mariadb
[root@localhost ~]# systemctl start mariadb
[root@localhost ~]# systemctl status mariadb
● mariadb.service - MariaDB database server
   Loaded: loaded (/usr/lib/systemd/system/mariadb.service; enabled; vendor preset: disabled)
   Active: active (running) since Fri 2017-07-21 11:30:32 CST; 2s ago
  Process: 5733 ExecStartPost=/usr/libexec/mariadb-wait-ready $MAINPID (code=exited, status=0/SUCCESS)
  Process: 5705 ExecStartPre=/usr/libexec/mariadb-prepare-db-dir %n (code=exited, status=0/SUCCESS)
 Main PID: 5732 (mysqld_safe)
   CGroup: /system.slice/mariadb.service
           ├─5732 /bin/sh /usr/bin/mysqld_safe --basedir=/usr
           └─5890 /usr/libexec/mysqld --basedir=/usr --datadir=/var/lib/mysql -...
設定 MariaDB ,主要是設定 MariaDB root (非系統 root ) 的帳號與密碼,其餘設定皆可使用預設值.
[root@localhost ~]# mysql_secure_installation

NOTE: RUNNING ALL PARTS OF THIS SCRIPT IS RECOMMENDED FOR ALL MariaDB
      SERVERS IN PRODUCTION USE!  PLEASE READ EACH STEP CAREFULLY!

In order to log into MariaDB to secure it, we'll need the current
password for the root user.  If you've just installed MariaDB, and
you haven't set the root password yet, the password will be blank,
so you should just press enter here.

Enter current password for root (enter for none):
OK, successfully used password, moving on...

Setting the root password ensures that nobody can log into the MariaDB
root user without the proper authorisation.

Set root password? [Y/n] y
New password:
Re-enter new password:
Password updated successfully!
Reloading privilege tables..
 ... Success!

By default, a MariaDB installation has an anonymous user, allowing anyone
to log into MariaDB without having to have a user account created for
them.  This is intended only for testing, and to make the installation
go a bit smoother.  You should remove them before moving into a
production environment.

Remove anonymous users? [Y/n] y
 ... Success!

Normally, root should only be allowed to connect from 'localhost'.  This
ensures that someone cannot guess at the root password from the network.

Disallow root login remotely? [Y/n] n
 ... skipping.

By default, MariaDB comes with a database named 'test' that anyone can
access.  This is also intended only for testing, and should be removed
before moving into a production environment.

Remove test database and access to it? [Y/n] Y
 - Dropping test database...
 ... Success!
 - Removing privileges on test database...
 ... Success!

Reloading the privilege tables will ensure that all changes made so far
will take effect immediately.

Reload privilege tables now? [Y/n] y
 ... Success!

Cleaning up...

All done!  If you've completed all of the above steps, your MariaDB
installation should now be secure.

Thanks for using MariaDB!
建立 Zabbix server 所需資料庫.
[root@localhost ~]# mysql -u root -p
Enter password:
Welcome to the MariaDB monitor.  Commands end with ; or \g.
Your MariaDB connection id is 9
Server version: 10.3.28-MariaDB MariaDB Server

Copyright (c) 2000, 2018, Oracle, MariaDB Corporation Ab and others.

Type 'help;' or '\h' for help. Type '\c' to clear the current input statement.
新增 zabbix 資料庫.
MariaDB [(none)]> create database zabbix character set utf8 collate utf8_bin;
Query OK, 1 row affected (0.001 sec)
新增使用者 zabbix@localhost 與其密碼 ‘password’ (請自行修改).
MariaDB [(none)]> create user zabbix@localhost identified by 'password';
Query OK, 0 rows affected (0.002 sec)
給予使用者 zabbix@localhost 存取 zabbix 資料庫權限(ALL).
MariaDB [(none)]> grant all privileges on zabbix.* to zabbix@localhost;
Query OK, 0 rows affected (0.001 sec)
MariaDB [(none)]> flush privileges;
Query OK, 0 rows affected (0.001 sec)

MariaDB [(none)]> quit;
Bye
使用資料庫使用者 zabbix (密碼剛剛設定為 password) 並匯入 Zabbix server 所需 架構(schema) 與 資料(data) 到資料庫.
[root@localhost ~]# zcat /usr/share/doc/zabbix-server-mysql*/create.sql.gz | mysql -u zabbix -ppassword zabbix
設定 Zabbix Server
修改 Zabbix server 設定值,預設資料庫名稱(DBName)與 使用者(DBUser) 皆為 zabbix ,這邊只需要修改 資料庫密碼(DBPassword) 及可.
[root@localhost ~]# vi /etc/zabbix/zabbix_server.conf
DBName=zabbix
DBUser=zabbix
DBPassword=password
Apache (Httpd) 與 PHP
Web Server 可以自行選擇 Apache 或是 Nginx .下面使用的是 Apache
[root@localhost ~]# dnf install -y httpd
CentOS 8 的 Apache, 預設使用 PHP-FPM 執行 PHP.
[root@localhost ~]# dnf install -y php php-pdo php-pecl-zip php-json php-common php-fpm php-mbstring php-cli php-mysqlnd
[root@localhost ~]# systemctl enable httpd
Created symlink from /etc/systemd/system/multi-user.target.wants/httpd.service to /usr/lib/systemd/system/httpd.service.
[root@localhost ~]# systemctl start httpd
[root@localhost ~]# systemctl status httpd
● httpd.service - The Apache HTTP Server
   Loaded: loaded (/usr/lib/systemd/system/httpd.service; enabled; vendor preset: disabled)
   Active: active (running) since Fri 2017-07-21 12:03:23 CST; 5s ago
     Docs: man:httpd(8)
           man:apachectl(8)
 Main PID: 6418 (httpd)
   Status: "Processing requests..."
   CGroup: /system.slice/httpd.service
           ├─6418 /usr/sbin/httpd -DFOREGROUND
           ├─6419 /usr/sbin/httpd -DFOREGROUND
           ├─6420 /usr/sbin/httpd -DFOREGROUND
           ├─6421 /usr/sbin/httpd -DFOREGROUND
           ├─6422 /usr/sbin/httpd -DFOREGROUND
           └─6423 /usr/sbin/httpd -DFOREGROUND

[root@localhost ~]# systemctl status php-fpm
● php-fpm.service - The PHP FastCGI Process Manager
   Loaded: loaded (/usr/lib/systemd/system/php-fpm.service; enabled; vendor preset: disabled)
   Active: active (running) since Wed 2021-06-09 23:57:23 CST; 52s ago
 Main PID: 36834 (php-fpm)
   Status: "Processes active: 0, idle: 5, Requests: 0, slow: 0, Traffic: 0req/sec"
    Tasks: 6 (limit: 23494)
   Memory: 9.7M
   CGroup: /system.slice/php-fpm.service
           ├─36834 php-fpm: master process (/etc/php-fpm.conf)
           ├─36835 php-fpm: pool www
           ├─36836 php-fpm: pool www
           ├─36837 php-fpm: pool www
           ├─36838 php-fpm: pool www
           └─36839 php-fpm: pool www
測試一下 Web 與 PHP.
CentOS 8 搭配的 Apache 沒有預設網頁,可以自行建立 index.html (檔案需儲存在 /var/www/html – Apache 預設的目錄) 來測試.
[root@localhost ~]# echo Apache on CentOS 8 > /var/www/html/index.html
[root@localhost ~]# curl http://localhost/index.html
Apache on CentOS 8
[root@localhost ~]# echo "<?php phpinfo() ?>" > /var/www/html/phpinfo.php
[root@localhost ~]# curl http://localhost/phpinfo.php
如果連不上請先確一下 Firewall 的狀態.
[root@localhost ~]# systemctl stop firewalld
設定 Zabbix Front-end
設定 Zabbix Front-end PHP 時區.
[root@localhost ~]# vi /etc/php-fpm.d/zabbix.conf
php_value[date.timezone] = Asia/Taipei
[root@localhost ~]# systemctl restart php-fpm
啟動 Zabbix server 與 agent
[root@localhost ~]# systemctl restart zabbix-server zabbix-agent
[root@localhost ~]# systemctl enable zabbix-server zabbix-agent
Zabbix agent
這邊不需要設定,使用預設設定檔即可運作,Server 與 serverActive 皆使用 本地 127.0.0.1 , Hostname 名稱 Zabbix server 需與網頁設定時一致.
[root@localhost ~]# vi /etc/zabbix/zabbix_agentd.conf
Server=127.0.0.1
ServerActive=127.0.0.1
Hostname=Zabbix server
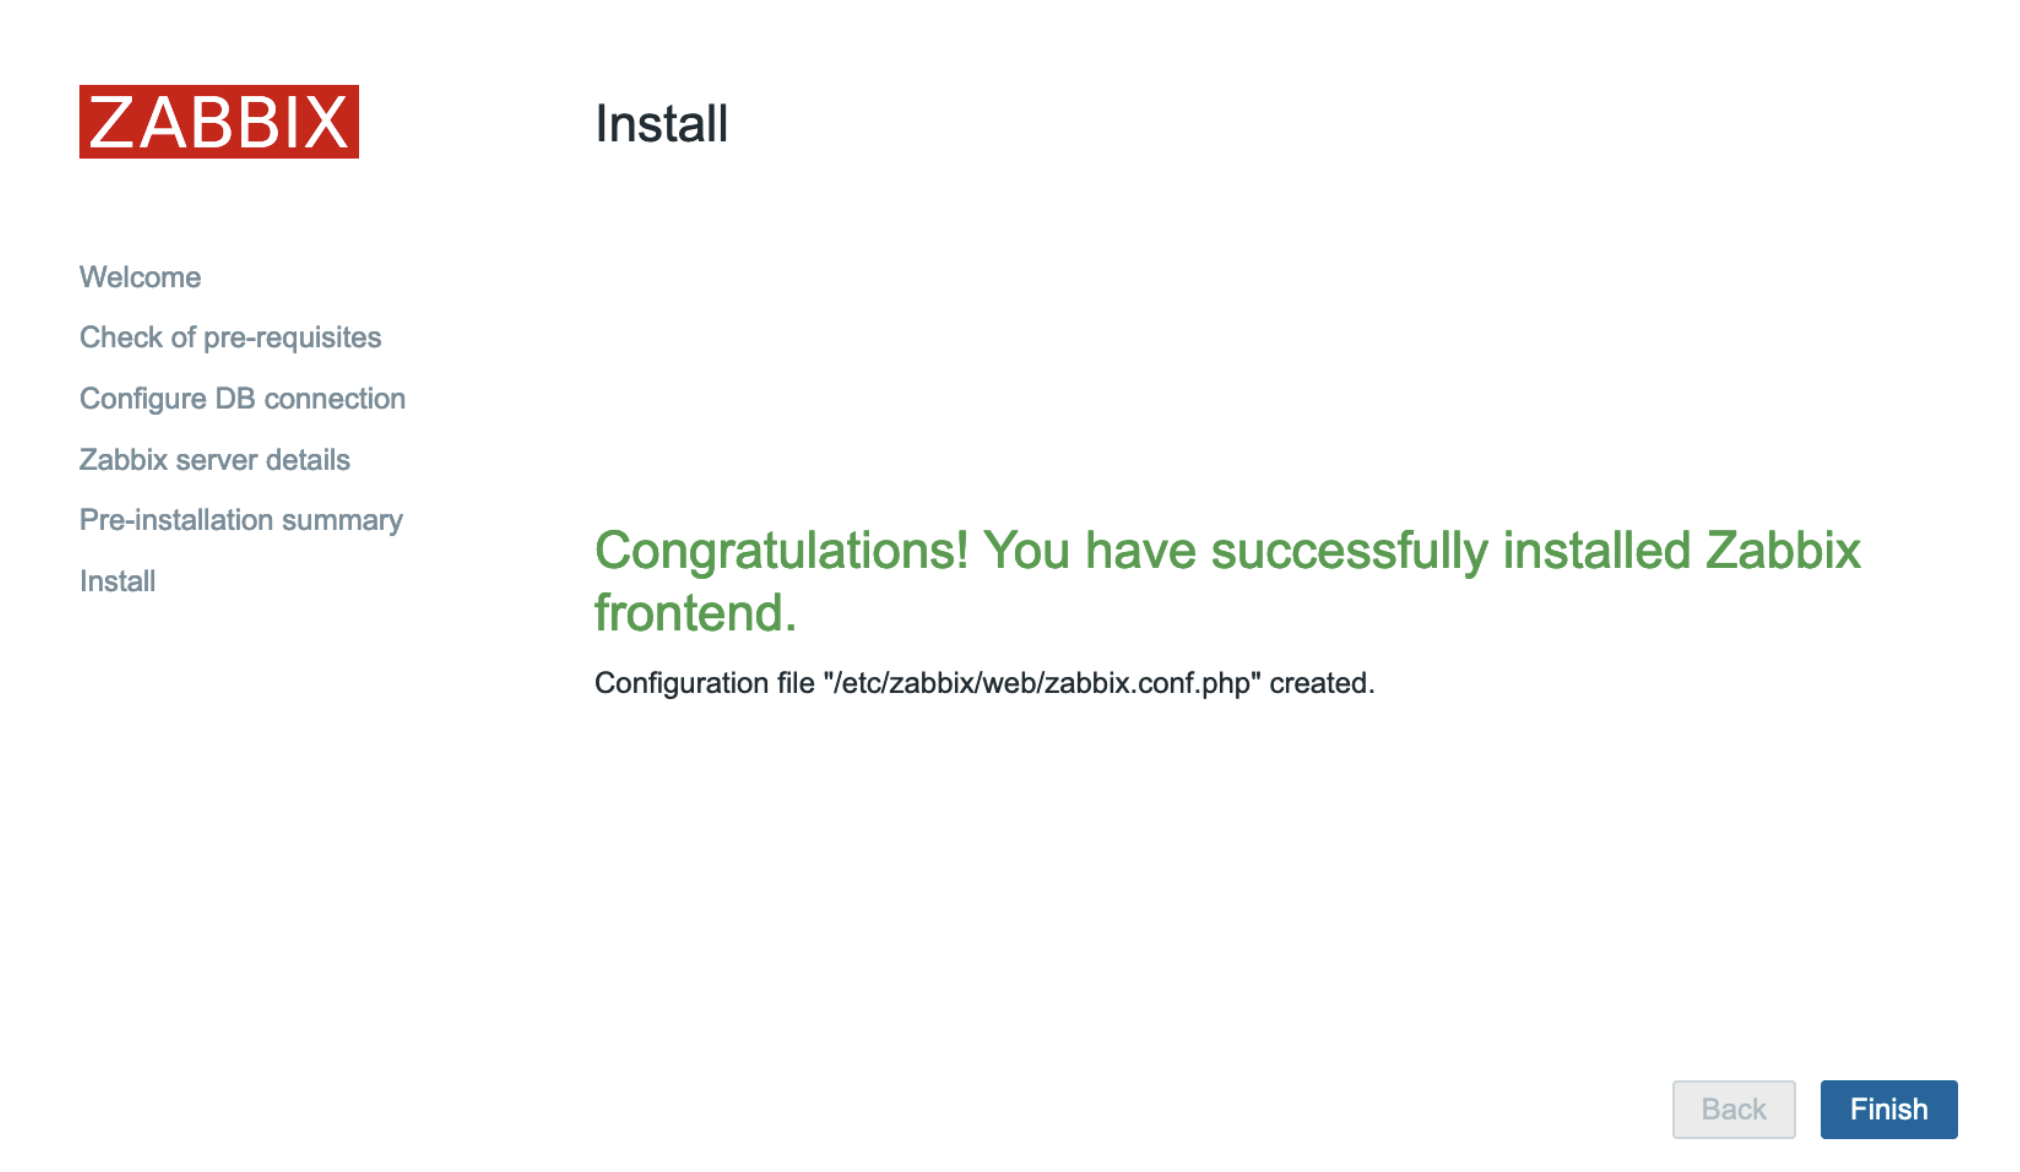
Zabbix Front-end
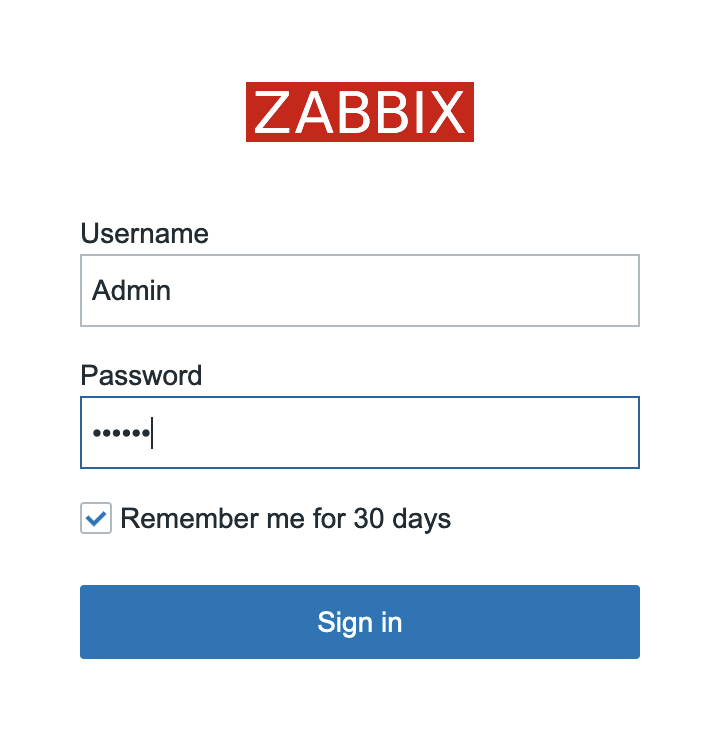
到網頁 http://server_ip_or_name/zabbix 來設定.

剛剛有設定資料庫使用者 zabbix 與 密碼為 password.

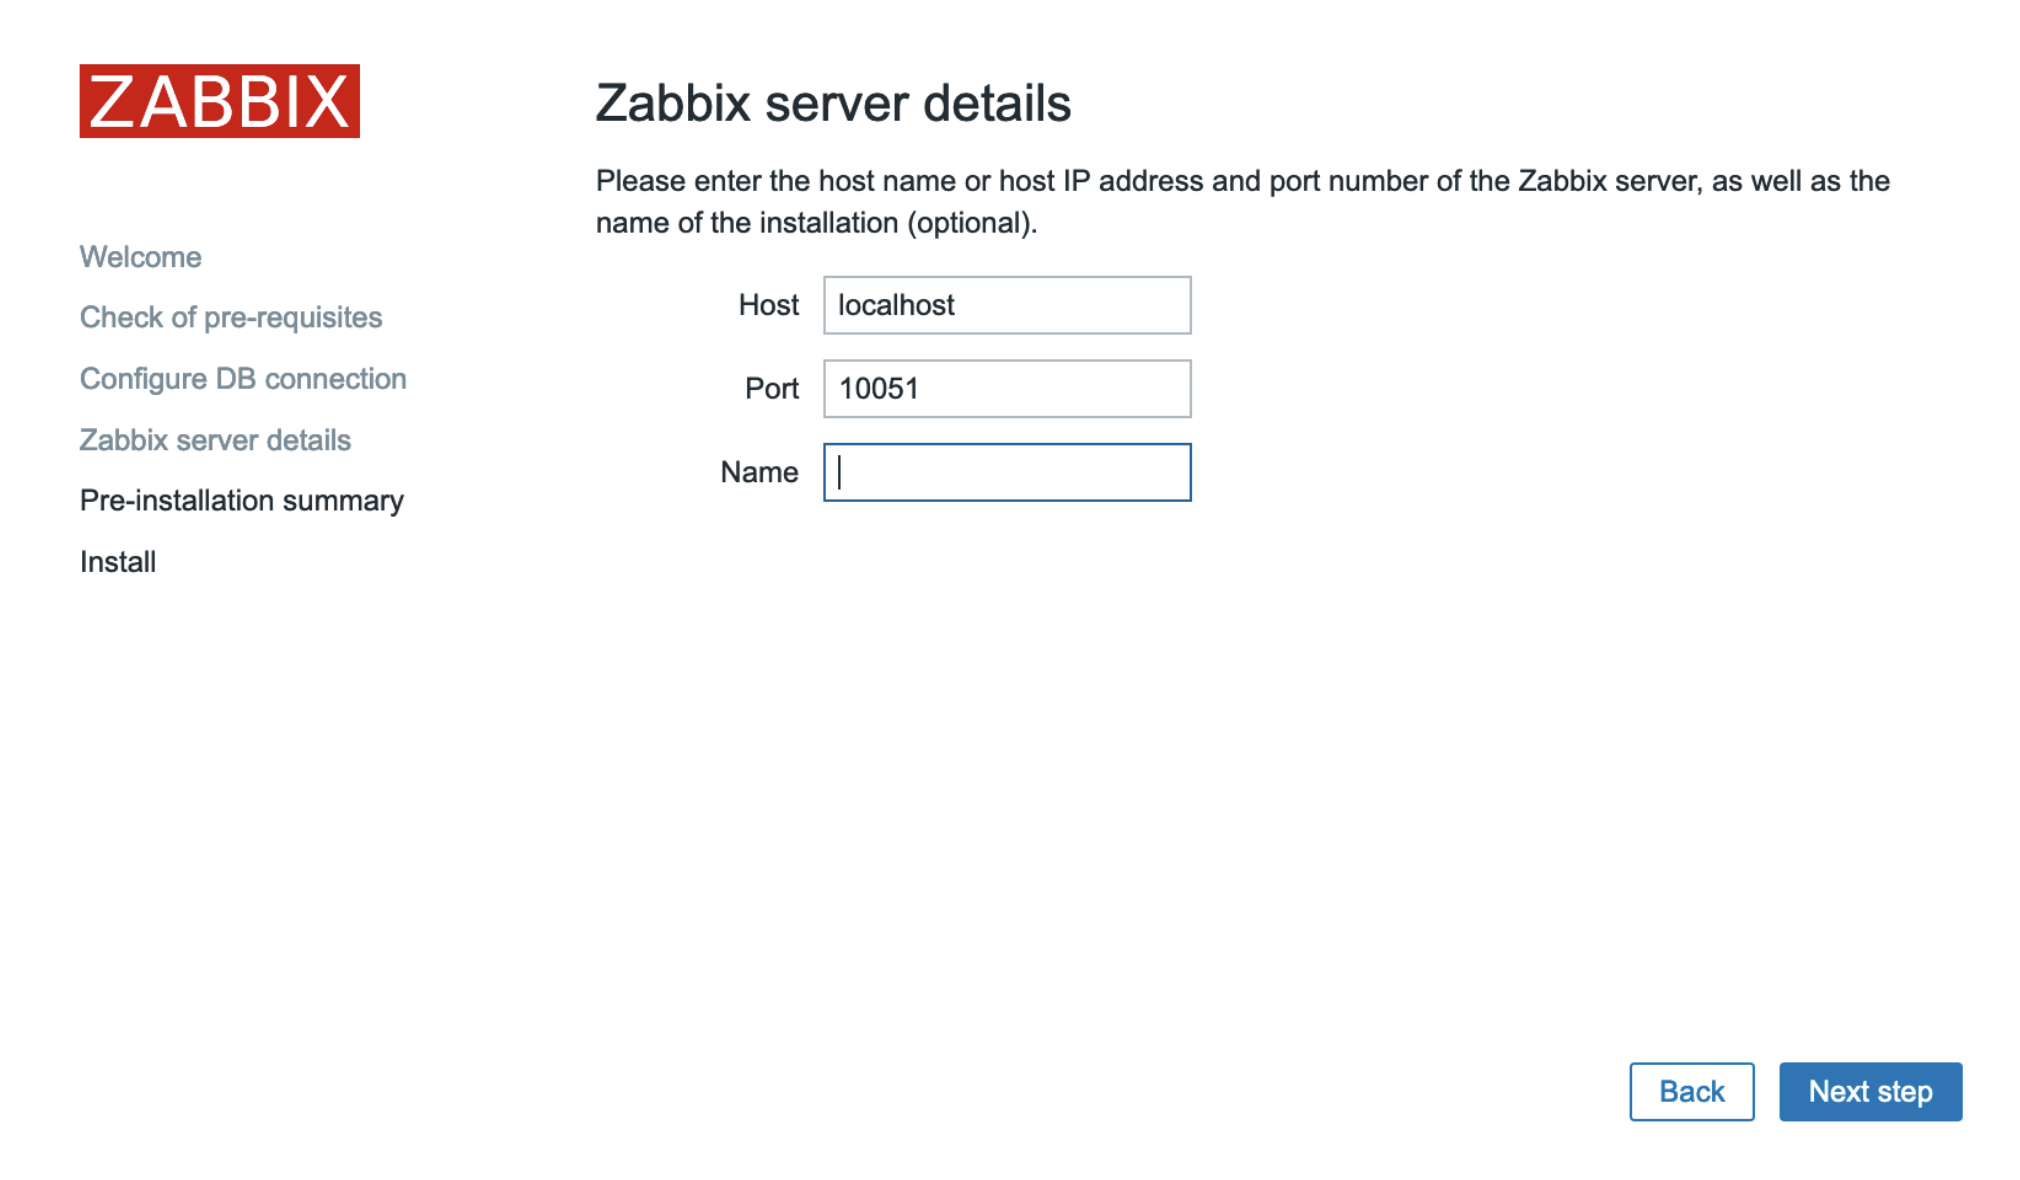

Zabbix front-end 預設使用者為 Admin 與 密碼為 zabbix .
登入後就可以開始使用 Zabbix , 在 Monitoring / Host 就可以看到前面建立的 Zabbix Server( Agent 名稱為 Zabbix Server 須與 /etc/zabbix/zabbix_agentd.conf 設定的 Hostname 名稱一致) ,其他是我後來加入的 Zabbix Agent ,請參考 – https://benjr.tw/103741
