![]()
安裝 VMware ESX 4 基本上不太會遇到問題,不過這一次我的艱難任務是安裝在 Promise SuperTrak EX8650 ,這一張 RAID 卡不在 VMware 的支援列表上所以上 Promise 的網站一樣找不到任何支援 Vmware ESX 的 driver. 最後是透過 Promise 的 FAE 拿到一個尚未經過 VMware 簽署的 driver.老實說用起來怕怕的.
那大家可能會問到底是哪些硬體是不支援的,可以透過 VMware 官方網站對於硬體的資源列表來查詢. http://www.vmware.com/resources/compatibility/search.php
來看看安裝步驟好了.老實說安裝 VMware ESX 很像是在安裝 RHEL. 圖片借用了 http://www.bujarra.com/?p=2530&lang=zh-TW
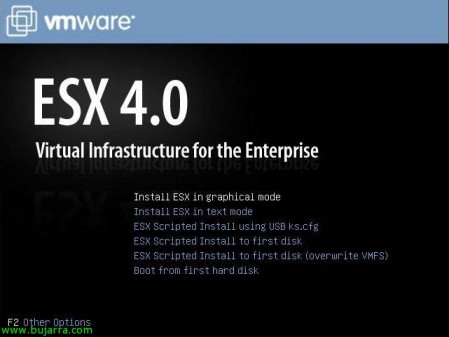
安裝的第一個畫面,通常使用預設的圖形介面 "Install ESX in graphical mode" 即可.
還有其他模式可以選擇:
- Install ESX in text mode – 文字模式安裝
- ESX Scripted Install using USB ks.cfg – kickstart 自動模式安裝
- ESX Scripted Install to first disk – kickstart 自動安裝到第一顆硬碟
- ESX Scripted Install to first disk (overwrite VMFS)
- Boot from first hard disk – 不安裝直接從第一顆硬碟開機.
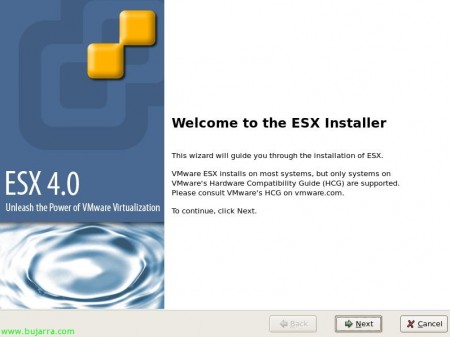
開始安裝,其實這邊我也不需要多做說明就按下一步 “Next” 就好了.
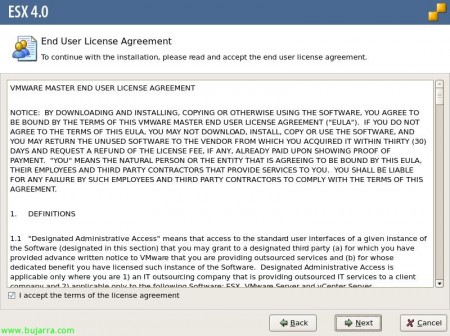
VMware License 的宣告,其實這邊我也不需要多做說明就按下一步 "Next" 就好了.
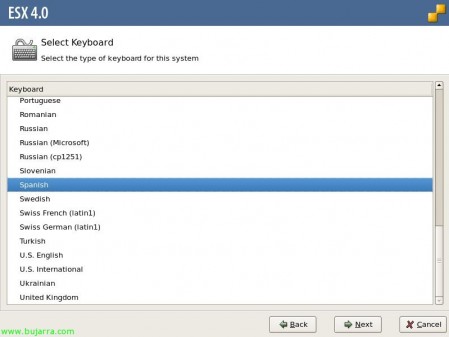
選擇 Keyboard,其實這邊我也不需要多做說明就按下一步 "Next" 就好了.
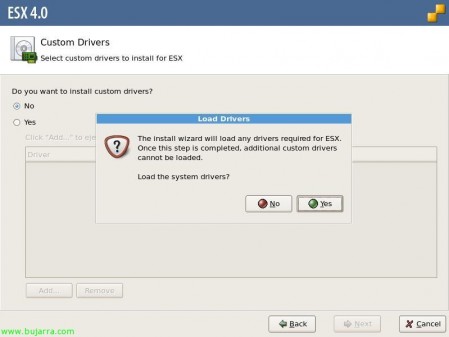
VMware Driver 安裝 Driver 的方式有 2 種
Promise SuperTrak EX SAS RAID Controller – VMWARE ESX SERVER 4.0 Driver
-
New OS Installation:
- Load driver CD when there is a notification to insert driver
- After Driver CD successfully loaded. Continue to install ESX Server and select the disks you want to install to.
- Continue with ESX Server installation.
-
Install/Update driver on exist OS
- Power on the ESX or ESXi Host.
- Put the ESX host in the Maintenance Mode using vSphere Client.(Inventory -> Host -> Enter Maintenance Mode).
- Run the esxupdate command to install drivers using the vib.
- esxupdate -b <.vib> –nosigcheck update
前者就是在這裡安裝,後者是系統安裝完成再做供新的動作,不過我的 VMware ESX 是要安裝在 Promise 上面所以必須在第一步就把它做完成.
其實這邊我也不需要多做說明就按下一步 "Next" 就好了.
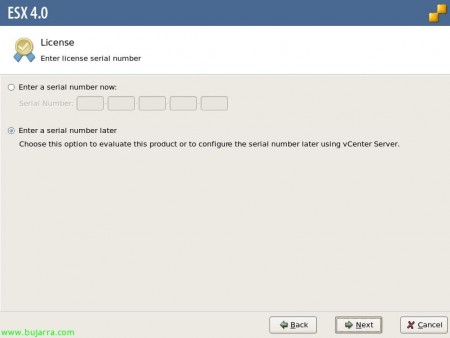
序號這邊可以不輸入,不過要在使用期限 60 天內完成輸入序號的工作,其實這邊我也不需要多做說明就按下一步 "Next" 就好了.
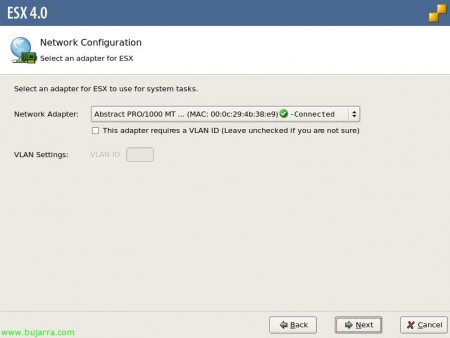
VMWare ESX 關於 Networking 設定相當靈活,這邊設定的是 Service console,其實這邊我也不需要多做說明就按下一步 "Next" 就好了.
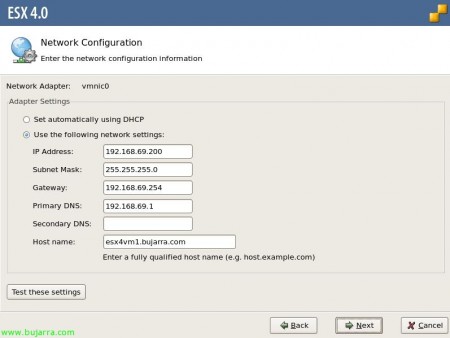
Networking 設定可以用固定或是 DHCP 來設定 Service console.其實這邊我也不需要多做說明就按下一步 "Next" 就好了.
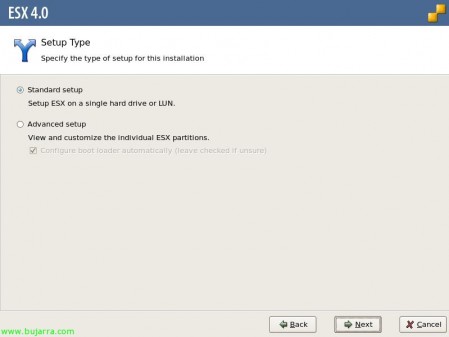
其實這邊我也不需要多做說明就按下一步 "Next" 就好了.
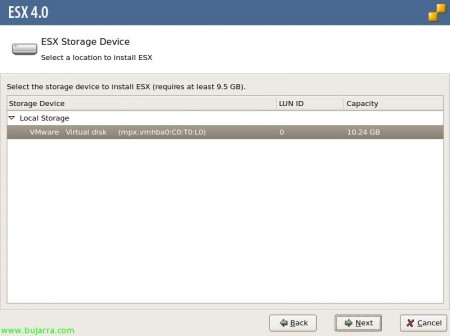
只要是 VMware ESX 有支援的 storage adapter 而且硬碟有找到,這邊就可以供我們來選擇要安裝在哪一個硬碟上,其實這邊我也不需要多做說明就按下一步 "Next" 就好了.
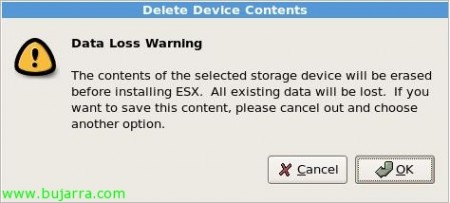
如果硬碟之前裝過其他作業系統這邊就會詢問資料是會必移除掉,其實這邊我也不需要多做說明就按 "OK" 就好了.
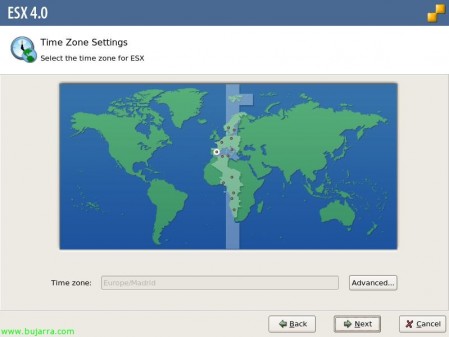
Time Zone 的設定,其實這邊我也不需要多做說明就按下一步 "Next" 就好了.
這裡是選不到 Taipei 的,需要點選 "Advanced…" 手動做選擇.
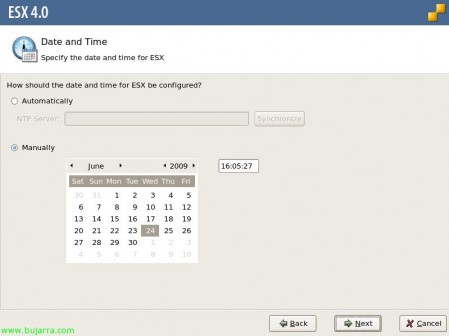
日前與時間的設定,其實這邊我也不需要多做說明就按下一步 "Next" 就好了.
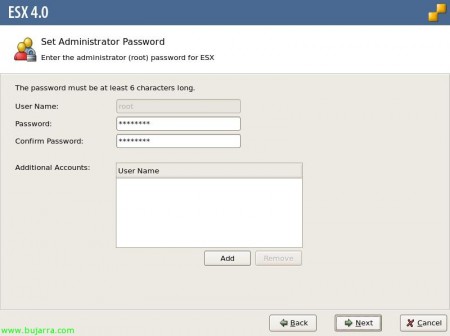
root 的登入密碼也是 vSphere Client 登入密碼,其實這邊我也不需要多做說明就按下一步 "Next" 就好了.
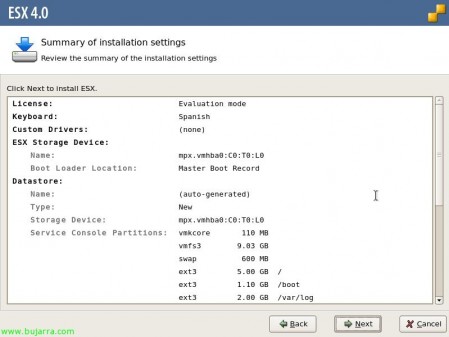
剛剛所設定的系統會呈現在此,其實這邊我也不需要多做說明就按下一步 "Next" 就好了.
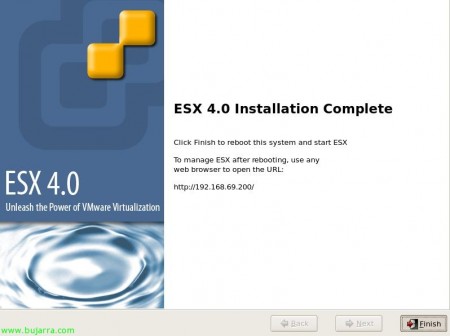
安裝完成,其實這邊我也不需要多做說明就按 "Finish" 就好了.
安裝完成的 ESX 就只會顯示出一些文字,那我們要怎麼使用 ESX 呢!!他並不像是 RHEL 5/6 XEN/KVM 同時提供 Dom0 可供顯示與操作介面,我們安裝好的 ESX 會顯示出 service console 的 IP,我們就需要透過這 IP 並在 Windows 平台下安裝 VMware vSphere Client 才能從遠端連接上.
我安裝好的 VMware ESX 還多出這一警示訊息 "VMware ESX. 0:00:00:19.891 cpu10:4120)Elf: 3036: Kernel module stex was loaded, but has no signature attached" ,我想大概是我的 Promise SuperTrak EX8650 driver 尚未經過簽屬吧!!
note:
要安裝新的驅動程式我們會透過 USB flash disk 將檔案上載到 ESX(i) 上,但有些情況下 VMware ESX 本身可能無法使用 USB Flash Disk 此時需要將 usbarbitrator 的服務停止.
# service usbarbitrator stop
One thought on “安裝 VMware ESX 4”