![]()
FreeNAS Images
FreeNAS Images 檔案是已經寫好的一個 FreeNAS 壓縮檔,不需安裝只要把 image 資料放到你想要的硬碟裝置中即可.先到它的官方網站下載這個 image 檔. http://www.freenas.org/index.php?option=com_versions&Itemid=51#FreeNAS%20Images 這比較適用於 flash disk.
系統需求如下:
Installation on a standard PC (CF/IDE version)
Alternative installation methods:
with Damn Small Linux (CD-ROM)
with tomsrtbt (floppy disk)
Installation on a standard PC requires the following steps:
download the raw CF/IDE image (generic-pc)
write the image to a CF card (> 5 MB) or an IDE hard disk, either with dd under FreeBSD or under Windows with physdiskwrite
如何將這個 images 檔解到 flash disk 中 Linux 可以使用 dd ,Windows 需要其他的工具才能完成.
Linux:
[root@benjr ~]# gunzip -c generic-pc-xxx.img | dd of=/dev/hdX bs=16k
Linux 下先把他解開再使用 dd 將資料 dump 到你需要的 flash 中即可.
where X = the IDE device name of your HD/CF card (check with hdparm -i /dev/hdX) – some CF adapters, particularly USB, may show up under SCSI emulation as /dev/sdX
(ignore the warning about trailing garbage – it's because of the digital signature)
Windows:
(use the -u flag if the target disk is > 800 MB – make very sure you've selected the right disk!!)
c:physdiskwrite [-u] generic-pc-xxx.img
(you must use v0.3 or later!)
physdiskwrite 的下載點 http://m0n0.ch/wall/physdiskwrite.php
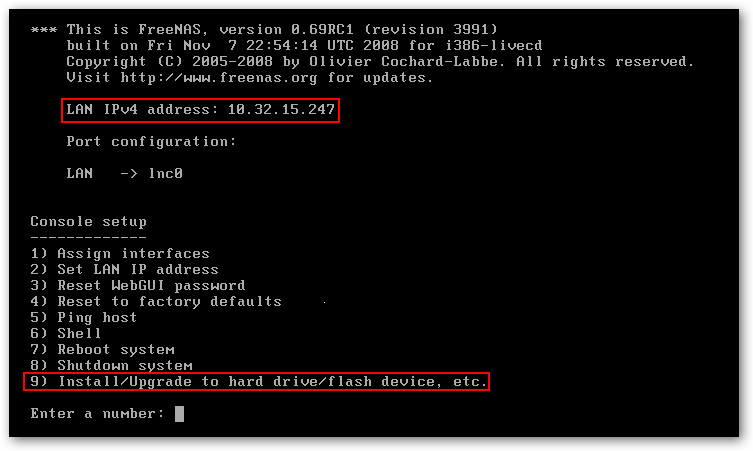
接下來將你的 flash disk 放到你的 PC 上,並選擇由這 flash disk 開機,不過如果你的 BIOS 太舊有可能不支援 USB 開機.你也可以買 IDE 轉 CF 的卡來使用.當然網路線要接上我們剩下最後的工作就是設定網路.設定 IP 即可 ,將來我們都是透過這個 IP 設定 Freenas .我們可以選擇 DHCP或固定 IP.方法如下,選擇 2) Set LAN IP address 設定 IP.
如果你用 DHCP 按 "yes".IPv6還用不到,其他就不用在設定了.

如果系統能成功得到 IP 你就會看到 DHCP 指定給系統的 IP.
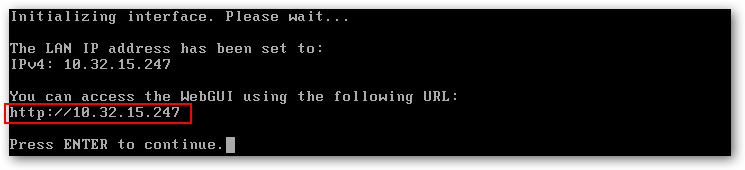
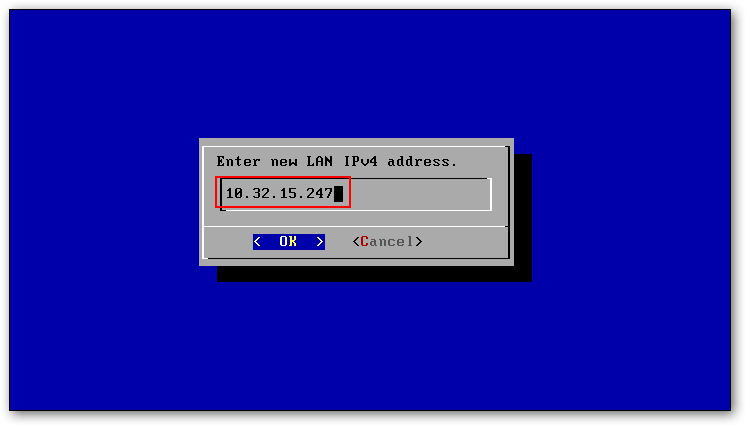
如果你是固定 IP,那我們還需要輸入 IP 和 submask.
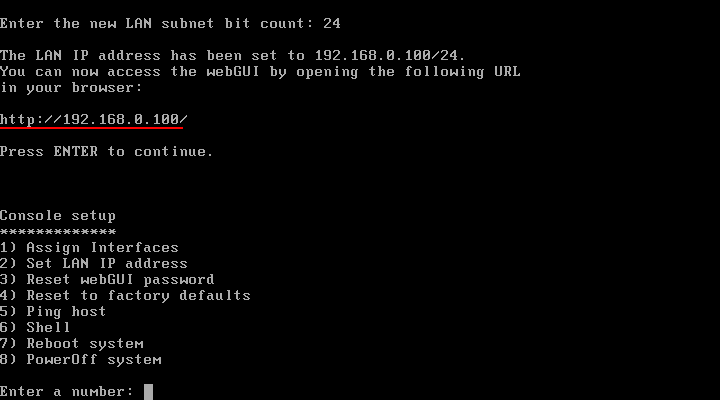
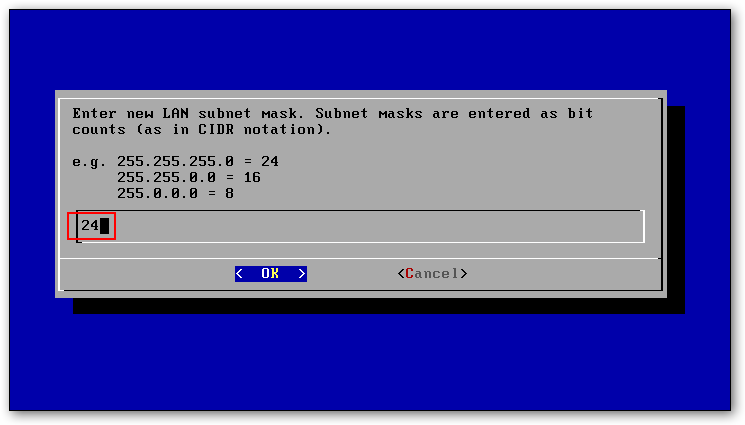
設定 subnet mask 中間說明的很清楚 255.255.255.0就輸入 24,因為每個數字代表8個 bit 所以有 8X3=24.
其他像是 Default gateway,DNS,IPV6 依你的需要來設定.
結束了,接下來就用不到 command line 的模式,設定都會透過 web 的方式連上這一台 FreeNas 預設的帳號: admin 密碼: freenas
One thought on “FreeNAS – Image 安裝”